
Vacuum Pump Maintenance: How to Change Oil in Your Freeze Dryer Safely
Honestly, nobody buys a home freeze dryer because they wanna hang out with a wrench and a bucket of messy oil.
You buy it because you wanna make crunchy candy. You wanna store mountain meals for twenty-five years.
You wanna stop throwing away moldy berries. It is a fantastic hobby.
But then reality hits you like a brick wall. You look at the back of your shiny new machine.
There sits this heavy, loud, roaring piece of industrial machinery. The vacuum pump.
And guess what? That pump is the literal heart of your whole system. If it dies, your expensive space-food setup turns into a giant, useless metal box instantly.
When I first unboxed my machine, I ignored the pump oil for way too long. I hated the idea of messing with greasy liquids in my clean garage.
But after a massive scare that almost cost me a six-hundred-dollar pump, I learned my lesson.
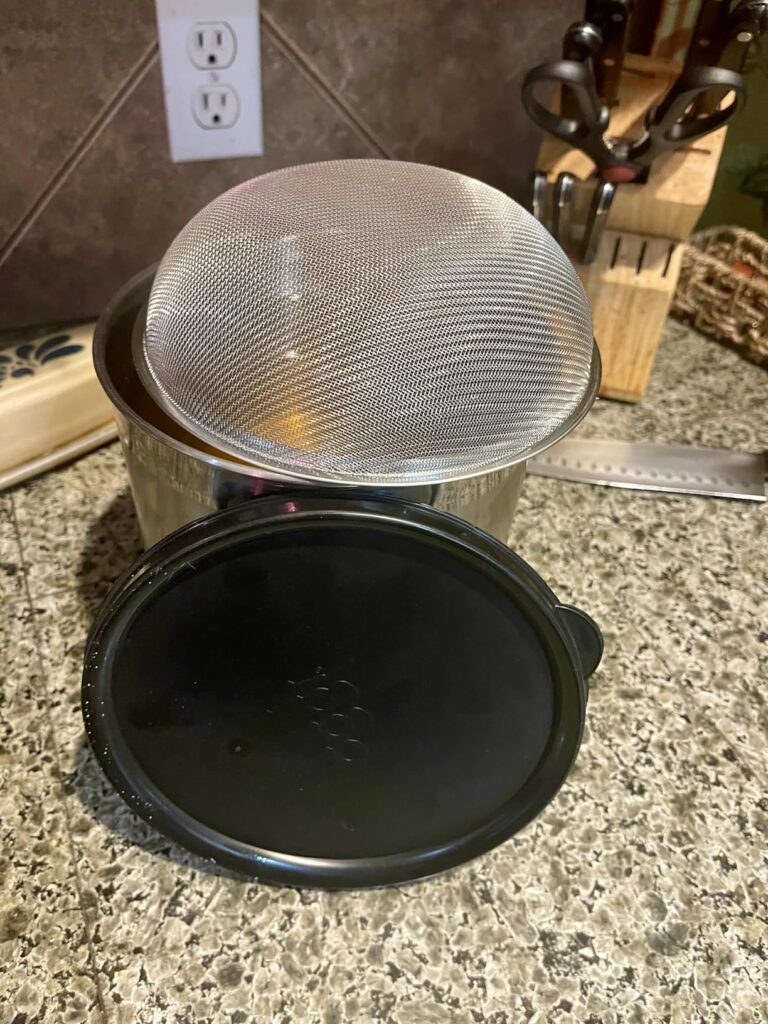
Oil Filtration System/Jar
Changing your oil is the most important chore in this entire hobby.
It is not hard to do. It takes less than 5 minutes once you get the rhythm down.
Let’s break down the exact, dummy-proof way to handle your pump maintenance safely so your machine stays happy for years.
Why This Sticky Fluid Actually Matters So Much
The Trapped Water Problem
Alright, so why do you have to change this oil so often anyway? Your car goes thousands of miles before an oil change. Why does a freeze dryer need one every few days?
It all comes down to what the machine is actually doing. It is sucking a massive amount of water vapor out of wet food under a heavy vacuum.
Most of that moisture freezes onto the inside walls of the cold drum. But a tiny bit of water vapor always sneaks past the seals.
It gets sucked straight into the vacuum pump. Once inside, that water mixes with the super-hot spinning oil.
The Cloudy Death Spiral
When water and oil whip together at high speeds, they form an emulsion. The oil stops being clear.
It turns a cloudy, milky white color. That is your warning sign.
Milky oil loses its ability to lubricate the tight metal gears inside the pump. It also stops the pump from pulling a deep enough vacuum.
If you keep running the machine with dirty fluid, the pump will get blistering hot, spark out, and seize up completely.
The Oil Spectrum: Standard vs. Premium vs. Oil-Free
I like to test out my gear thoroughly to see where I can save cash and where I need to buy top-tier stuff.
Here is how the main pump styles stack up when it comes to the ongoing maintenance grind:
| Pump Style / Fluid | Oil Change Frequency | Maintenance Difficulty | Average Cost | Noise Level | The True Reality |
| Standard Filtration Oil | After every single batch | Easy but annoying | Low ($12 a gallon) | Loud vibrating hum | Constant chore but keeps pump alive. |
| Premium Synthetic Fluid | Every 3 to 5 batches | Easy | Medium ($25 a bottle) | Smooth purr | Better seals, handles water well. |
| High-End Scroll Pump | Never (Zero oil needed) | None | Extremely High ($1500+) | Quiet whisper | Absolute dream if you are rich. |
See what I mean? Unless you have a mountain of spare cash to buy an oil-free scroll pump, you are stuck dealing with fluid changes.
If you use standard oil, you gotta drain it constantly.
If you upgrade to a high-quality synthetic fluid and use a filtering jar, you can stretch your runs a bit. But you still can’t ignore it.
The 180°F Smelly Garage Flood: My Most Costly Field Mistake
Look, I gotta tell you a quick story about a massive blunder I made so you don’t ruin your garage floors and burn your hands like I did.
When I first started running batches, I finished a long 32-hour run of sliced pineapples. The machine buzzed.
I opened the drain valve, took my food out, and decided to change the pump fluid immediately while it was fresh on my mind.
The pump was still boiling hot from running all night. It was sitting right around 180°F.
I grabbed a cheap, flimsy plastic solo cup from my kitchen party stash. I jammed it under the drain spout.
I unscrewed the plastic drain plug completely.
Read also :Freeze Drying for Preppers: Building a 1-Year Food Supply at Home
It was an absolute disaster.
The Melting Plastic Eruption
-
The Mistake: I drained industrial pump oil at 180°F into a thin, un-insulated party cup.
-
The Reaction: The searing hot oil instantly melted the bottom of the plastic cup right out.
-
The Mess: A massive wave of black, smelly, smoking oil flooded all over my bare wooden workbench and poured onto my concrete garage floor.
It missed my boots by about 2 inches. The smoke filled my entire garage within seconds. It smelled like a burnt auto shop.
It took me over 3 hours of scrubbing the floor with heavy degreaser and spreading cat litter just to soak up the grease. I burned two fingers trying to catch the leaking plug. Total nightmare.
The Golden Drainage Hack
Learn from my pain. Never drain hot oil into plastic cups.
Always use a thick, clean mason glass jar or a heavy duty metal oil pan. Glass can handle the intense heat without flinching.
Also, wear a pair of thick leather work gloves. The pump housing gets incredibly hot, and one slip can give you a nasty blister.
Step-by-Step: The Foolproof Safe Oil Change Protocol
Ready to clean out your pump without making a mess? Follow these exact steps to get a flawless, quick change every single time.
-
Turn Off and Unplug: Never touch the drain plug while the pump is running or plugged into the wall. Safety first. Pull the cord completely out of the back of the freeze dryer.
-
Let it Cool a Bit: Wait about 15 minutes after a batch finishes. You want the oil to stay warm so it drains out fast, but you don’t want it at that blistering 180°F melting point.
-
Set Up Your Glass Jar: Place a clean, wide-mouth quart glass mason jar directly underneath the front drain valve of the pump.
-
Open the Top Cap: Unscrew the black breather cap on top of the pump. This lets air flow through the system so the dirty fluid drains out in a smooth stream instead of glugging and splashing everywhere.
-
Open the Drain Plug: Slowly turn the front drain valve counter-clockwise. Let the cloudy, milky white fluid pour completely into your glass jar.
-
Tilt the Pump: Once the stream slows down to a drip, pick up the back of the heavy pump and tilt it forward at a 45-degree angle. Hold it there for ten seconds. You will see a bunch of hidden sludge and water dirty bubbles pour out from the very bottom of the reservoir.
-
Close and Tighten: Wipe the plug clean with a paper towel. Screw it back in tight. Don’t use a wrench to crank it down until the plastic cracks; just finger-tight plus a tiny snug turn is all it takes.
-
Pour in the Fresh Fluid: Use a clean plastic funnel in the top fill hole. Pour in your fresh, clear vacuum oil slowly. Watch the sight glass on the front of the pump. Stop pouring the exact second the fluid level hits the middle of the red circle. If you overfill it, the pump will spray an oily mist all over your room when it turns on.
-
Replace the Cap: Screw the top breather cap back on. Plug the machine back in. You are officially ready for the next batch.
The Filtering Jar Hack: How to Save Massive Cash
If you are changing your oil after every single run, you are gonna burn through gallons of expensive fluid fast. That cost adds up big time over a year of processing.
Here is an elite real-world trick to recycle your fluid safely.
Buy a basic oil filtration jar system online. It uses cheap paper circle filters.
When you drain your cloudy, watery oil into your mason jar, don’t throw it away. Let the jar sit on your garage shelf for 24 hours.
Because water is heavier than oil, the trapped moisture will completely separate overnight. It sinks to the very bottom of the jar, leaving a thick, clear layer of good oil floating on top.
Carefully pour that top clear layer through your paper filter setup into a fresh bottle.
The filter catches any tiny carbon flakes or dirt particles. You get perfectly clear, recycled oil ready to use again for free. You can recycle your oil up to 4 times before it loses its viscosity and needs to be thrown out completely.
Frequently Asked Questions
What happens if I accidentally overfill the pump?
If you pour too much oil in and it goes past the top line of the sight glass, don’t ignore it.
When the vacuum pump kicks on and starts pulling a heavy vacuum, the extra fluid will create a massive pressure backup. The pump will literally blow a thick cloud of white oil smoke out of the top exhaust vent. It will coat your garage walls in a greasy film within minutes. Always drain the extra out immediately.
Can I use standard car motor oil in my freeze dryer?
No, absolutely not! Never do this.
Car engine oil has a completely different viscosity and contains weird chemical detergents meant for gas engines. Vacuum pump oil is specifically engineered to have an ultra-low vapor pressure so it can handle deep vacuums without evaporating. Using car oil will destroy your pump seals inside an hour.
How do I know if my pump is failing?
If your oil stays perfectly clear but your machine keeps throwing “Vacuum Error” codes on the screen, your pump is struggling. Check the oil level first. If the level is fine, listen to the sound. A loud, clanking metal noise means the internal bearings are shot and the pump needs a professional rebuild.
The Verdict: Master the Maintenance, Love the Hobby
At the end of the day, dealing with greasy fluids and scheduled chores can feel like a total drag when all you wanna do is make cool snacks.
But taking care of your vacuum pump is what separates the amateur hobbyists from the seasoned pros.
If you take care of the heart of your machine, it will reward you by running flawlessly for a decade. You will save thousands of dollars on long-term grocery stashes and create a beautiful emergency food bank for your family.
I’m recycling a fresh jar of filtered clear fluid right now to prep my machine for a massive run of beef stew this weekend.
Trust me on this one. Grab a thick glass jar, wear your work gloves, check that sight glass level, and stay on top of your maintenance. Your freeze drying routine is never gonna be the same.